Weather seals are the most modest parts of a garage door and, in this climate, among the hardest working. They are strips of vinyl and rubber, and they are the only thing between the inside of your garage and a January wind.
We replace garage door weather seals for homes in Nashotah and the surrounding lake communities. Fall is our busy season for it, and for good reason.
Where a garage door is sealed
A door has several separate seals, and they wear out at different rates.
Bottom seal
A flexible strip along the lower edge of the door that compresses against the floor. Takes the most abuse and fails first.
Retainer
The aluminum or PVC channel on the bottom of the door that the seal slides into. Can corrode, bend or crack.
Side and top weatherstripping
A stop molding with a flexible vinyl flap, fixed to the jambs and header. The flap rests against the face of the closed door.
Section joint seals
Gaskets between the door sections on better insulated doors.
Threshold seal
An optional raised strip bonded to the floor. The bottom seal closes against it. Useful on uneven slabs and where water runs toward the door.
Top section seal
A strip along the top edge of some doors that closes the gap at the header.
Bottom seal profiles
Bottom seals are not universal. The profile has to match the retainer on your door, and the size has to suit your floor.
| Profile | Description | Suits |
|---|---|---|
| T-style | Two T-shaped ribs slide into a double-channel retainer, forming a U | Most modern steel doors |
| Bulb | A round tube with a single or double rib | Uneven floors. The tube deforms to fill dips |
| Bead | Rounded beads fit a retainer with circular channels | Certain door brands |
| J-type | Two J-shaped legs hook into a single channel | Some older and specific brand doors |
| Nail-on or screw-on | A flat strip fixed directly to the bottom of a wood door | Wood doors without a retainer |
Width matters as much as shape. A wider seal forms a deeper loop and can close a larger gap, which is what you want on a slab that has moved. Material matters too. Vinyl is economical but stiffens in the cold. Rubber and EPDM stay flexible at low temperatures and are what we normally recommend here.
How to tell your seals need replacing
- Daylight. Close the door, turn off the lights and look along the bottom and sides in the daytime.
- Water or snow inside. A wet line or drifted snow just inside the door after a storm.
- Drafts. Air moving at the corners or along the jambs on a windy day.
- Hard, cracked or flattened rubber. Press the seal with a thumb. It should give and spring back.
- Torn sections or missing pieces. Often at the ends, where the seal pulls out of the retainer.
- Pests. Mice, insects and leaves getting in. A mouse needs a gap about the width of a pencil.
- The door freezes down often. A flat, worn seal holds water against the slab.
- Vinyl flap curled away from the door on the side or top molding.
What we do on a seal replacement
- 01
Measure the gaps
We check the floor for level across the opening and look at how the door meets the jambs and header, so the new seals are sized to the real conditions.
- 02
Remove the old bottom seal
The door is raised to a working height and secured. The old seal is slid or cut out of the retainer.
- 03
Clean or replace the retainer
Dirt and corrosion are cleared from the channels. A bent, cracked or badly corroded retainer is replaced.
- 04
Fit the new bottom seal
A seal of the correct profile and width is fed through the retainer, left slightly long and secured at the ends so it cannot creep.
- 05
Replace the perimeter weatherstripping
Old stop molding is pried off, and new molding is fixed so the flap touches the door with light, even pressure.
- 06
Add a threshold if needed
Where the slab dips or slopes inward, a threshold strip is bonded to clean, dry concrete.
- 07
Check the close
The door is lowered and inspected for daylight. Opener down-travel is adjusted so the seal compresses without the door being driven into the floor.
It is typically a job of an hour or so for a full set of seals on one door.
Before & after
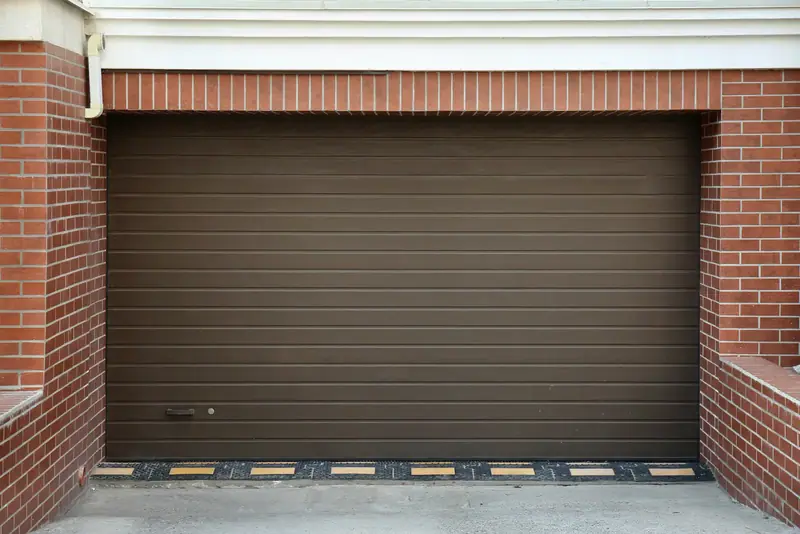
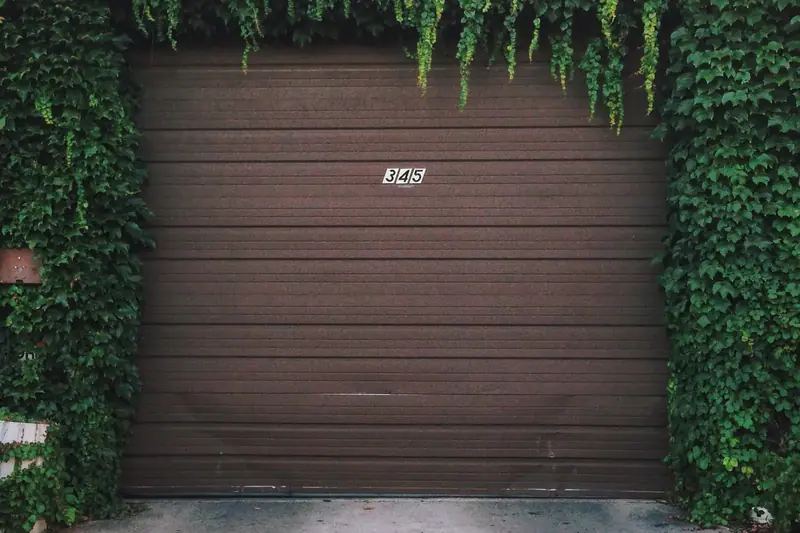
A worn threshold seal compared with a new one seated on the floor
Project notes
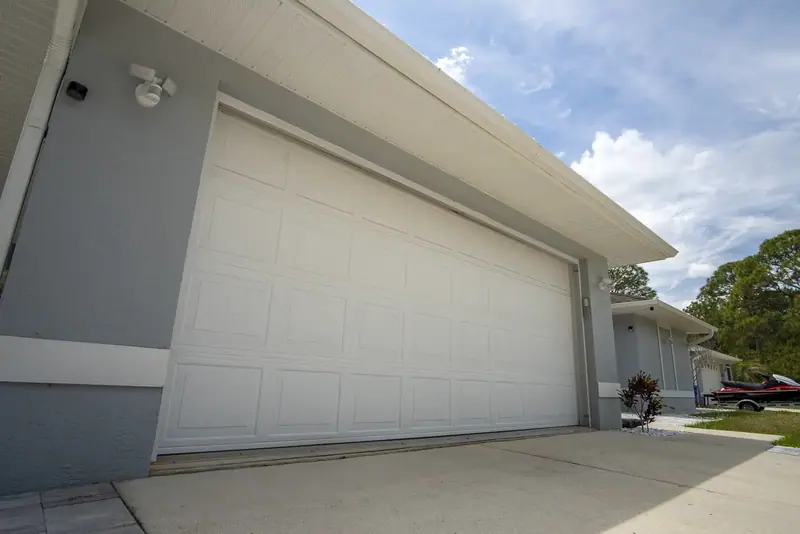
In the first image the door looks closed, and it is. But the seal along its lower edge has done its years: flattened where it meets the floor, stiff with age and no longer following the surface beneath it. Along a seal like this there are usually several spots where you can slide a hand under the door.
The comparison illustrates a door with a new bottom seal of the correct profile, compressed evenly along the full width of the opening. In practice we also check the aluminum retainer that holds the seal, replace the perimeter weatherstripping on the jambs and header if it has hardened, and add a threshold strip where the slab is uneven.
The garage stays drier and warmer, wind-driven snow stays outside, and the route that mice and insects were using is closed.
Illustrative example. These are licensed reference photographs chosen to show the kind of change this service makes. They are not photos of a specific Nashotah Garage Door customer's property.
Fixing the gap, not just the rubber
Sometimes a new seal alone will not close the gap, because the gap is not the seal's fault.
An out-of-level floor. Slabs settle and heave. If one corner is half an inch low, a standard seal cannot reach it. A wider bulb seal or a threshold usually can. In more extreme cases the bottom of a wood door can be scribed, or a tapered seal fitted.
A door that does not close fully. If the opener's travel limit is set short, or the door is out of balance, it may be stopping a fraction above the floor. That is an adjustment, not a seal problem.
Tracks too far from the jamb. If the door does not pull tight against the side weatherstripping when closed, the vertical tracks need adjusting. See track repair.
A bowed door. A door that bellies inward leaves a gap at the top or middle of the jambs. A reinforcing strut is the cure.
We check these before we fit anything, so you are not paying for new seals that still leak.
Seals in a Wisconsin winter
This is where local experience counts.
Freezing to the floor
The most common winter complaint. Meltwater runs under the door during the day and freezes at night, bonding the rubber to the concrete. In the morning the opener either cannot move the door, or tears the seal out of its retainer.
What helps: a seal in good, flexible condition that sheds water; a threshold that keeps water from pooling under the door; keeping the apron shoveled so less melts toward the door; and a thin wipe of silicone spray on the seal in the fall so ice does not grip it as firmly. If the door is frozen down, release it by hand and break the bond gently. Do not let the opener keep trying.
Cold-stiffened vinyl
Inexpensive vinyl seals harden in deep cold and stop conforming to the floor just when you need them most. Rubber and EPDM cost a little more and stay supple.
Frost heave
The floor and the driveway apron can move differently through the winter. A seal with a generous profile takes up that movement where a thin one cannot.
Salt
Salt-laden slush sits against the bottom seal and the retainer for months. Aluminum retainers corrode and steel bottom rails rust. A rinse along the base of the door in spring makes a real difference to both.
Mice
Around the lakes and wooded lots, field mice head indoors as soon as the nights turn cold. The corners of the garage door are their favorite way in. Seals that are intact right to the ends, and tight at the bottom of the jambs, shut that door.
The energy side
A garage door has a long perimeter, over forty feet on a double door. A gap of only an eighth of an inch around that perimeter adds up to an opening the size of a small window, left open all winter. On an attached garage, cold air pouring in cools the shared wall, the ceiling under any room above, and the entry door to the house. New seals are one of the least expensive ways to make that space, and the rooms beside it, more comfortable. Paired with an insulated door, the effect is considerable.
Do it yourself or have it done?
Replacing side and top weatherstripping is within reach of a handy homeowner. The bottom seal is harder than it looks. The door has to be raised and held securely, an old seal can be stubborn to remove, and feeding sixteen feet of new rubber through a retainer without tearing it takes two people and some lubricant.
More to the point, identifying the right profile, judging whether the retainer should be replaced, and setting the opener's down-travel correctly afterward are where a professional earns the fee. An opener set to push too hard into a thick new seal can reverse on every close, or strain the top section.
Frequently asked questions
Bottom seals typically last five to ten years, less on a rough or salty floor. Perimeter weatherstripping lasts somewhat longer. Check them each fall.
Water gets under the bottom seal and freezes overnight. A fresh, flexible seal, a threshold strip, a clear apron and a light coat of silicone on the rubber all reduce it.
Often. A wider bulb-type seal or an added threshold will close most gaps. Severe unevenness may need a tapered solution, and we will tell you if that is the case.
They close the most common entry points. For a persistent problem, we pay particular attention to the bottom corners and the base of the side molding.
The opener is meeting resistance sooner and reading it as an obstruction. The down-travel limit and force need adjusting to suit the new seal.
It is one of the least costly garage door services, and it is often combined with a tune-up in the fall.