On each side of your garage door opening, a few inches above the floor, there is a small plastic box with a lens and a little light. One sends an invisible beam across the opening and the other receives it. If anything breaks that beam while the door is closing, the door stops and goes back up.
These photo-eyes are the most important safety device on the door. They are also the cause of more “my door will not close” calls than everything else combined. We repair and align them for homeowners in Nashotah and nearby.
How the sensors work
One unit is the sender. It emits a narrow infrared beam. The other is the receiver. When the receiver sees the beam, it tells the opener the path is clear.
- Beam seen: the door closes normally.
- Beam interrupted while closing: the door reverses to fully open.
- Beam blocked or sensors faulty before closing: the door will not close from a remote. The opener's lights flash as a warning.
Each sensor has an indicator light. The colors vary by manufacturer, though the principle does not: a steady light on both means the pair is powered and aligned. A light that is off, dim or flickering points to the fault.
One useful thing to know: on most openers, pressing and holding the wall button until the door reaches the floor overrides the sensors. It is meant for emergencies, such as getting the door shut when a sensor has failed. If you use it, watch the door all the way down.
Why sensors act up
Knocked out of alignment
A bin, a bike, a broom or a foot nudges one sensor and the beam misses its target. The most common cause by a wide margin.
Dirty lens
Dust, cobwebs, salt spray or a film of grime weakens the beam.
Something in the path
A leaf, a cobweb, a toy, a rake handle or the corner of a box.
Sunlight
Low sun shining straight into the receiver's lens can drown out the beam at certain times of day.
Loose or damaged wire
A staple through the wire, a corroded splice, a connection worked loose, or damage from mice.
Moisture and corrosion
Water at floor level gets into the sensor or its terminals.
Loose bracket
A sensor that vibrates as the door moves flickers in and out of alignment.
Failed sensor
The electronics eventually wear out.
Opener fault
Less often, the problem is at the logic board's sensor terminals.
What to try before calling
You can safely check several things yourself.
- Look at both indicator lights. Are they both on and steady?
- Clear anything from the floor between the two sensors, and check for cobwebs across the lens.
- Wipe each lens gently with a soft, dry cloth.
- Make sure neither sensor has been bumped. They should point directly at one another.
- If one is loose on its bracket, gently turn it until its light becomes steady, then tighten the wing nut.
- Follow the wire from each sensor as far as you can see. Look for cuts, pinches or loose staples.
- If the trouble happens at the same time each day, note where the sun is.
If both lights are steady and the door still will not close, or you cannot get a steady light at all, it is time for us.
How we diagnose and repair
- 01
Read the indicators
The sensor lights and the opener's diagnostic flashes tell us which side of the system has the problem.
- 02
Inspect mounting and alignment
We check that each sensor is firmly fixed, at the correct height, and aimed properly.
- 03
Test the wiring
Each run is inspected and tested for continuity and shorts, from sensor to opener.
- 04
Check voltage at the opener
We confirm the logic board is supplying the sensors and reading the return signal.
- 05
Repair or replace
Loose brackets are tightened or replaced, damaged wire is replaced, corroded terminals are remade, and failed sensors are replaced as a matched pair.
- 06
Align precisely
The sensors are set so the beam is centered, not just barely caught, leaving a margin for vibration.
- 07
Deal with sunlight if needed
Options include swapping the sender and receiver sides, recessing the receiver slightly or fitting a sun shield.
- 08
Test thoroughly
We break the beam at several points across the opening while the door closes, and run the contact reversal test as well.
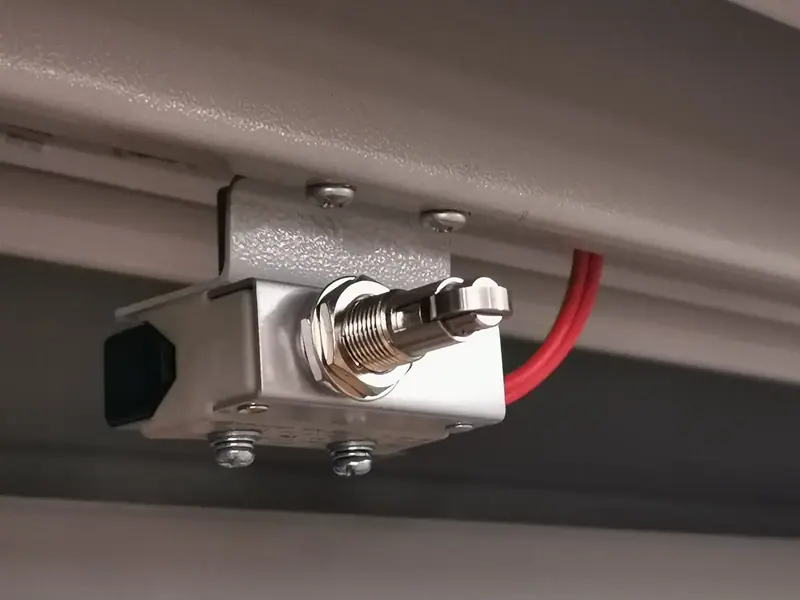
Before & after
Grimy, neglected wiring compared with tidy, secure connections
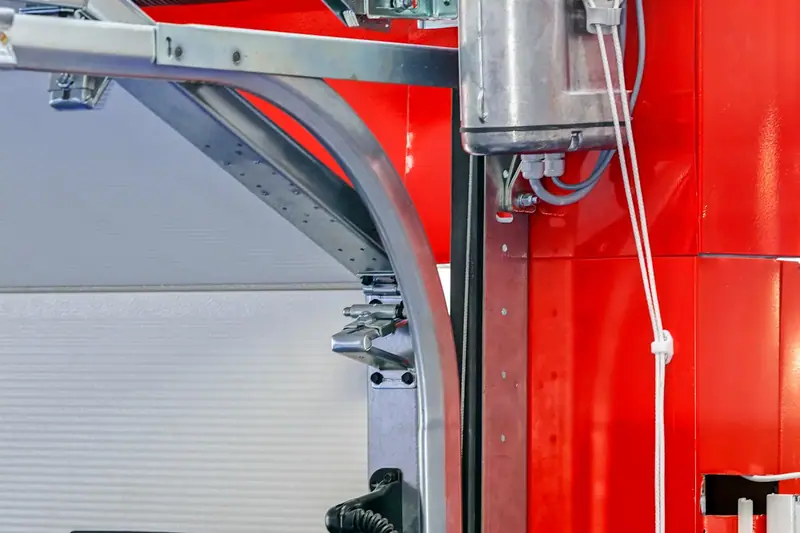
Project notes
The first image shows the conditions that many door sensors and their wiring live in: damp, dirty, low on the wall, with cable sagging and a box that has not been opened in years. Corroded terminals and loose wire are behind a large share of intermittent sensor faults, the kind that come and go with the weather.
The comparison illustrates control wiring done properly: runs secured along their length, terminations clean and tight, nothing left hanging to be snagged. For a garage door, the repair is to remount the sensors on solid brackets, replace damaged wire, remake the connections at the sensor and at the opener, and align the pair until both indicators hold steady.
The door then closes on the first press, every time, and still reverses instantly if the beam is broken. Reliable sensors are also what stop people from being tempted to bypass them.
Illustrative example. These are licensed reference photographs chosen to show the kind of change this service makes. They are not photos of a specific Nashotah Garage Door customer's property.
Correct sensor placement
Placement is set by the safety standard, and it matters.
- Height: the beam should be no more than six inches above the garage floor. The purpose is to detect a small child or a pet lying on the ground. Sensors mounted higher defeat this.
- Position: on the inside of the garage, one each side of the opening, as close to the door as practical.
- Mounting: on rigid brackets fixed to the track or the wall, not dangling from their wires.
- Aim: squarely at one another, with a clear line of sight.
We sometimes find sensors mounted at knee or waist height because someone grew tired of them being bumped, and occasionally taped together above the opener so they always see each other. Either arrangement leaves the door with no protection at floor level. We will put them back where they belong and suggest ways to protect them from knocks.
Please do not bypass the sensors
We understand the temptation. A sensor that stops the door closing on a freezing morning is infuriating. But a door without working photo-eyes will close on whatever is under it and rely on contact force alone to reverse. That is a heavy door meeting a child, a pet or the hood of a car before anything stops it.
Sensor faults are almost always inexpensive to fix properly. If yours has been bypassed, by a previous owner or in a moment of frustration, let us restore it.
Sensors and the Wisconsin winter
Our climate is hard on anything mounted six inches off a garage floor.
Snow. Snow blown in under the door or shovelled past the opening can cover or block a sensor. Snow falling off a car as the door closes breaks the beam.
Ice and frost. Meltwater splashes onto the lens and freezes, or frost forms on it overnight in an unheated garage.
Salt. Road spray dries to a white film on the lens. A gentle wipe every week or two in winter prevents many nuisance reversals.
Low winter sun. In December and January the sun sits low in the southern sky for much of the day and can shine straight into an east-, south- or west-facing garage. Receivers on the sunny side can be blinded. Swapping sides or adding a shield usually solves it.
Shovels and boots. Sensors get kicked and clipped far more often in winter. Guards are available and are worth fitting if yours are in the line of fire.
Moisture in connectors. Slush and standing water wick into low wire splices. We keep connections above the floor and sealed.
Mice. They move into garages in the fall and occasionally chew low-voltage wire.
When sensors should be replaced
Sensors are replaced as a matched pair, and they must be compatible with the opener's brand and generation. We replace them when one has failed electrically, when a housing has cracked and let water in, when the lens is damaged, or when corrosion has reached the internal terminals.
If your opener has no photo-eyes at all, it predates the modern safety requirement. Sensors generally cannot be added to those units, and the opener itself should be replaced. See opener replacement.
It may not be the sensors
A door that reverses on the way down is not always a sensor problem. If both sensor lights are steady and the opener is not flashing its warning, we look elsewhere.
- The door is binding. A tight spot in the track or a seized roller raises resistance, and the opener reverses.
- The door is out of balance. Weak springs make the door heavy.
- Close force or travel limit is mis-set. The door reverses on reaching the floor because the opener thinks it has hit something.
- Cold stiffness. Thick lubricant and contracted steel add friction.
We check the door by hand on every sensor call to rule these out. More on the opener repair page.
Why have a professional do it
Nudging a sensor back into line is a perfectly good homeowner fix. Beyond that, chasing an intermittent wiring fault through a garage, testing voltage at the logic board and selecting the right replacement sensors takes the right equipment and familiarity with the different opener systems.
The main reason, though, is the testing. After any sensor work, the whole safety system should be verified, beam and contact reversal both. We do that every time, so you are not left assuming it works.
Frequently asked questions
A blinking or flickering light means the receiver is not seeing the beam properly. The sensors are misaligned, the lens is dirty, something is in the way, or a wire is loose.
On most openers, holding the wall button down until the door is fully closed overrides them. Watch the door the whole way. Treat this as temporary and have the sensors repaired.
Sunlight is probably shining into the receiving sensor. Swapping the two sensors from side to side or fitting a sun shield normally cures it.
No more than six inches above the floor, so they can detect a child or pet low to the ground.
No. They must be compatible with your opener's make and generation. We match them.
Usually not. Most calls are resolved with alignment, cleaning or a short wiring repair. A new pair of sensors is an inexpensive part.