There are still plenty of garages around Nashotah without an opener. Detached garages, workshops, older cottages, and third bays that were never fitted with one. There are also new doors that deserve a new opener to go with them.
We install garage door openers for homes throughout the area. The work itself is not complicated. Doing it well comes down to matching the unit to the door and paying attention to how it is fixed to the building.
Before anything else: is the door ready?
An opener should only be fitted to a door that is in good working order. We check four things.
- Balance. With no opener attached, the door should lift easily and stay put at mid-height. If it does not, the springs need adjusting or replacing first.
- Smooth travel. No binding, rubbing or rough spots.
- A reinforced top section. The opener pushes and pulls on the top of the door. Without a proper bracket and, on most doors, a horizontal strut, the top section will bend or crack.
- No manual lock in use. A slide lock or T-handle lock must be removed or disabled so the opener cannot drive against it.
Fitting an opener to a heavy, binding door is the fastest way to wear one out.
Choosing the drive type
| Type | How it works | Strengths | Trade-offs |
|---|---|---|---|
| Chain drive | A steel chain pulls a trolley along the rail | Strong, proven, lowest cost | Loudest. Best for detached garages. |
| Belt drive | A reinforced belt replaces the chain | Very quiet and smooth | Costs a little more |
| Screw drive | A threaded rod turns to move the trolley | Few moving parts | Can be noisier, and is sensitive to temperature and lubrication |
| Wall-mount jackshaft | Mounts beside the door and turns the torsion shaft directly | Frees the ceiling, very quiet, suits high ceilings | Needs a torsion spring door, side room and a nearby outlet |
For an attached garage, especially one with a room above, a belt drive is our usual suggestion. For a garage with a high or cluttered ceiling, storage racks or a car lift, a wall-mount unit is hard to beat.
Motor and power
Modern openers mostly use DC motors. They are compact and quiet, and they allow soft start and soft stop, where the door eases into motion and slows before it lands. That is gentler on the door's hardware. DC motors also make battery backup practical.
Power is described in horsepower or an equivalent rating. A rough guide:
- Lighter single doors: a standard-power unit is ample.
- Double doors and insulated doors: a mid-power unit gives a comfortable margin.
- Heavy wood, oversized or carriage doors: a higher-power unit.
More power is not a substitute for a balanced door, though. A properly balanced door of almost any size needs surprisingly little force to move. The extra capacity is there for reserve and longevity.
Features worth knowing about
Rolling-code remotes
The code changes with every press, so it cannot be copied and replayed. Standard on current units.
Battery backup
Runs the door during a power outage. Valuable in a place that gets ice storms. See battery backup installation.
Wi-Fi and phone control
Check and operate the door from anywhere, and receive alerts. See smart opener installation.
LED lighting
Bright, built-in, and with no bulbs to shake loose.
Motion-sensing light
Lights the garage as you walk in.
Timer-to-close
Closes the door automatically after a set period if it is left open.
Wireless keypad
Lets family members in without a remote or key.
Automatic lock
A deadbolt that engages each time the door closes, on some models.
What the installation involves
- 01
Survey the garage
We measure the door height, the headroom, the distance to the back wall, and locate ceiling framing and the power outlet.
- 02
Prepare the door
A reinforcement bracket, and a strut where needed, is fitted to the top section. Any manual lock is disabled.
- 03
Assemble and mount the rail
The rail is attached to a header bracket fixed into solid framing above the door, centered on the opening.
- 04
Hang the motor unit
The power head is suspended from the ceiling joists with punched angle iron, braced so it cannot sway. Lag screws go into framing, never drywall alone.
- 05
Connect the door arm
The curved and straight arms link the trolley to the door bracket at the correct angle.
- 06
Fit the photo-eyes
Sensors are mounted on each side of the opening, no more than six inches above the floor, and aligned.
- 07
Install the controls
The wall console goes by the house door, at least five feet up. Low-voltage wire is run neatly and stapled without piercing it.
- 08
Set limits and force
Open and close positions are set so the door seals without straining, and closing force is set as low as the door allows.
- 09
Test the safety systems
Contact reversal on a flat board, photo-eye reversal and the manual release are all tested.
- 10
Program and demonstrate
Remotes, keypad and any phone app are set up, and we show you how to use the emergency release.
A standard installation usually takes two to three hours.
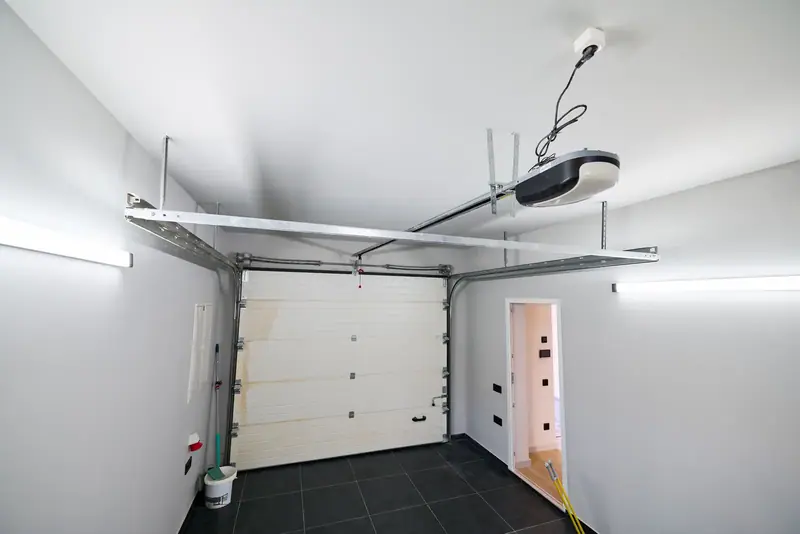
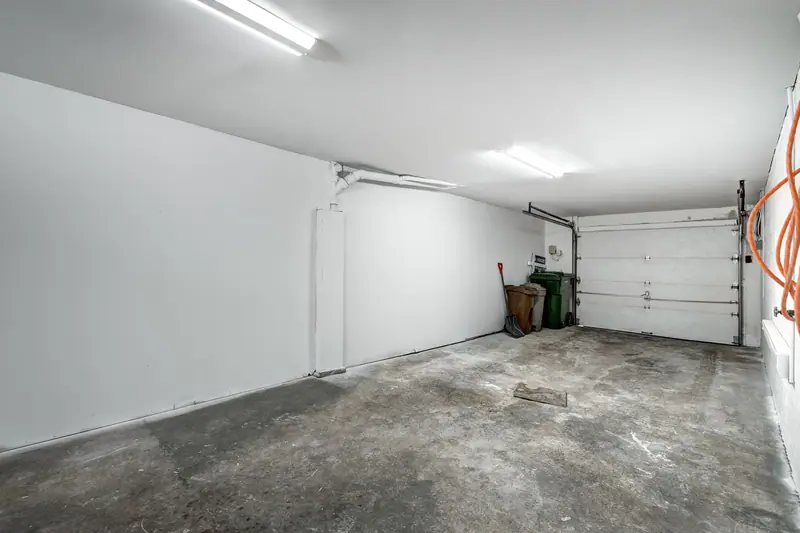
Before & after
A garage with no opener compared with a finished opener installation
Project notes
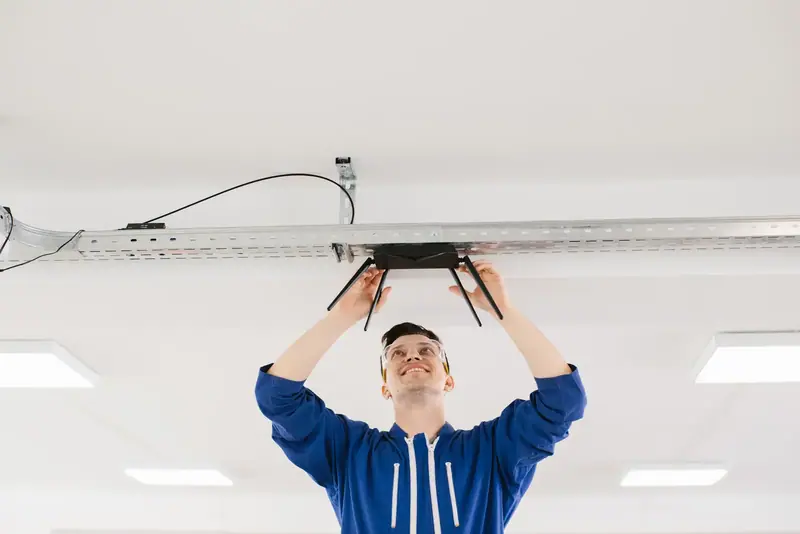
The first image shows a garage with no opener at all: a plain ceiling and a door that has to be lifted by hand. It is how many detached garages and older homes are still set up, and it is perfectly workable until the day it is pouring with rain or twenty below.
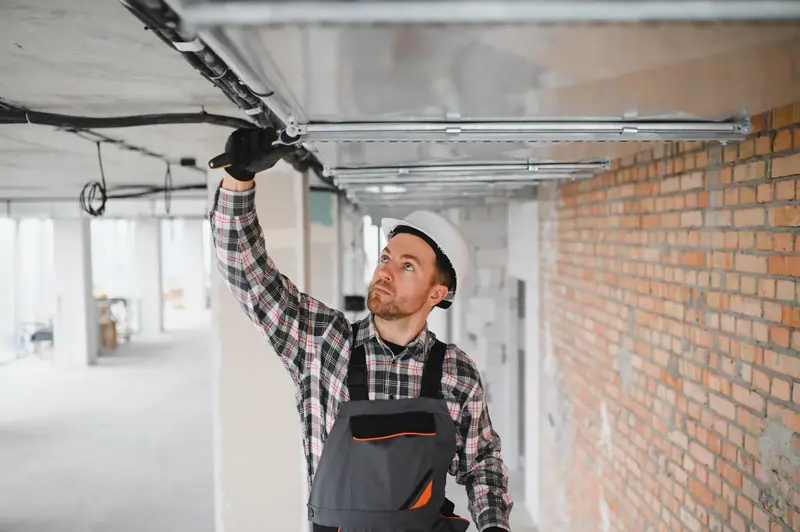
The comparison illustrates a completed installation. The opener is hung from the ceiling on rigid supports, its rail runs level to a header bracket above the door, and the door arm connects to a reinforced top section. Photo-eyes are mounted near the floor on each side, and a wall control sits by the entry door.
The practical gain is obvious every day: you stay in the car, the garage is lit as you pull in, and the door closes behind you. The less obvious gain is safety, because a modern opener monitors the door on every cycle and reverses if anything is in the way.
Illustrative example. These are licensed reference photographs chosen to show the kind of change this service makes. They are not photos of a specific Nashotah Garage Door customer's property.
Power and wiring
An opener needs a grounded outlet within reach of its cord, normally on the ceiling near the motor position. Extension cords are not an acceptable permanent supply.
If your garage has no ceiling outlet, an electrician will need to add one before the opener can be installed. We will tell you exactly where it should go. For wall-mount openers, the outlet needs to be near the side of the door instead.
The photo-eyes and wall control run on low-voltage wire, which we route along the framing and keep clear of moving parts.
Getting the mounting right
This is the part of an opener installation that separates a lasting job from a rattly one.
The motor unit pushes and pulls against its supports every time the door starts and stops. If it hangs from thin perforated strap, it sways. That flexing loosens the fasteners, makes noise and eventually throws the rail out of line. We use rigid angle iron, braced diagonally, fixed into the joists.
Under a bedroom, we add vibration isolators between the hangers and the framing. They cost little and noticeably reduce the hum that reaches the room above.
The rail has to be centered on the door and level, or slightly raised at the motor end as the manufacturer specifies. An off-center rail pulls the door sideways and wears the rollers and tracks.
Openers and the Wisconsin climate
Cold garages. Unheated garages regularly go well below zero. DC belt-drive units cope well. We set the force with a margin for cold-weather stiffness, and we use a rail lubricant that stays fluid.
Power outages. Ice and wind bring lines down. A battery backup means you are not lifting the door by hand in a storm.
Frozen thresholds. An opener will try to lift a door frozen to the floor and can damage the door or itself. We show every customer how to release the opener and free the door by hand.
Snow and sensors. We mount photo-eyes solidly and explain how to keep them clear of shovelled snow.
Surges. Thunderstorms are hard on opener electronics. A surge protector at the outlet is a sensible addition.
Lake properties. For seasonal homes, phone control lets you confirm from a distance that the door is closed.
Why have it professionally installed
Opener kits are sold for home installation, and some people manage it. The common shortfalls we find afterward are a door that was never balanced, a top section with no reinforcement, a motor hanging from strap, sensors mounted too high and force settings turned up to make it work.
Those are not cosmetic faults. The federal safety standard for openers depends on correct installation of the sensors and correct force settings. A professional installation includes balancing the door, reinforcing it, mounting the unit properly and testing every safety function, and it comes with someone to call if anything needs adjusting.
Frequently asked questions
Belt-drive openers with DC motors and wall-mount jackshaft openers are the quietest. Either is a good choice beneath a bedroom.
It depends on the door's size, weight and balance. A standard unit handles most single doors. Double, insulated and wood doors benefit from more capacity. We will recommend one after seeing the door.
Yes, for a ceiling-mounted opener, or beside the door for a wall-mount unit. If there is none, an electrician will need to install one first.
In most cases, provided it suits the door. We will check the door's condition and the opener's compatibility before we start.
If the door is balanced and structurally sound, yes. We reinforce the top section and correct any balance problem first.
Typically ten to fifteen years or more, depending on use and how well the door is maintained.