We tend to stop noticing garage doors. They go up, they come down, and after a few thousand cycles they fade into the background. It is easy to forget that the door weighs as much as a large refrigerator, is held up by springs under high tension, and is driven by a motor that will keep pushing until something tells it to stop.
A safety inspection is a deliberate look at all the things that keep that arrangement safe. We carry them out for homeowners, landlords and buyers in and around Nashotah.
When an inspection makes sense
You have just bought the house
A general home inspection gives the garage door a brief look. It rarely tests balance, spring condition or reversal force properly.
You have young children or pets
The door's ability to detect and reverse matters most where small, fast-moving family members are around.
The door is more than ten years old
Springs, cables and openers of that age are entering the period when failures become likely.
The opener is older
Units made before the early 1990s predate mandatory photo-eye sensors. Many older ones have weak or no reversal.
Something has changed
A new noise, slower travel, or the door not staying up the way it used to.
After an impact or a storm
Even if the door still works, hidden damage to track, cables or brackets is common.
You are a landlord
A documented check is good practice for a rental property.
It has simply been a while
If you cannot remember the last time anyone looked, it is time.
What we inspect
We follow the same sequence every time. Below is what is checked and why it matters.
The counterbalance system
- Springs. Condition, rust, gaps, deformation and whether they are the right size for the door.
- Cables. Fraying, rust, kinks and seating on the drums or pulleys, with close attention at the bottom brackets.
- Drums and pulleys. Cracks, worn grooves, tight set screws and free rotation.
- Bearings and shaft. Smooth rotation and secure mounting.
- Safety cables. On extension spring doors, that a containment cable runs through each spring.
- Bottom brackets. Secure fastening, corrosion and tamper resistance.
The door and its hardware
- Sections. Cracks, creases, rust, delamination and bowing.
- Hinges and rollers. Cracks, wear, loose fasteners and rollers running true.
- Tracks. Plumb, level, secure fastening and no damage.
- Rear hangers and brackets. Solid attachment to framing.
- Struts and reinforcement. Present where needed, especially at the opener attachment.
- Handles and locks. Safe grip points for manual operation and a lock that does not conflict with the opener.
- Glass. Intact glazing in any window sections.
The opener and its safety devices
- Mounting and rail. Securely fixed and straight.
- Emergency release. The red cord works and re-engages properly.
- Wall control. Mounted at least five feet above the floor, out of small children's reach, and in sight of the door.
- Photo-eyes. Present, mounted no higher than six inches off the floor, aligned and functioning.
- Travel limits and force. Set correctly for the door.
- Wiring. No damaged or exposed low-voltage wire, and a proper power outlet.
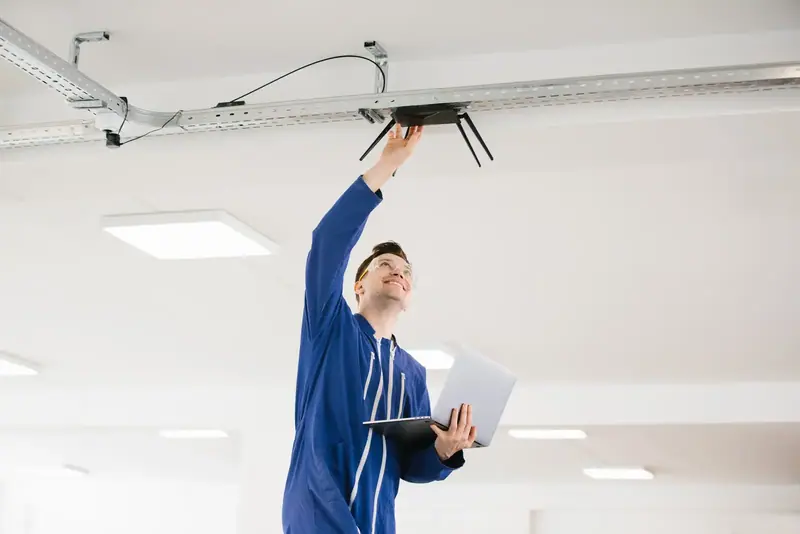
The four tests that matter most
Looking is half the job. Testing is the other half.
- 01
Balance test
With the opener disconnected, we lift the door by hand and stop it at about knee, waist and shoulder height. A balanced door stays where it is. One that drops or shoots up has a spring problem, and an unbalanced door undermines every other safety feature.
- 02
Contact reversal test
A piece of lumber about an inch and a half thick is laid flat on the floor in the door's path. When the closing door touches it, the door must reverse. If it stalls or keeps pushing, the opener's settings or the opener itself need attention.
- 03
Photo-eye test
While the door is closing, the sensor beam is interrupted. The door must stop and reverse immediately. We also check that the door will not close at all with the beam blocked.
- 04
Force test
We resist the closing door by hand at about waist height. It should reverse with moderate resistance. A door that cannot be stopped this way is set to push too hard.
We also check that the manual release works and that the door can be operated by hand, which is what you will rely on in a power outage.
Before & after
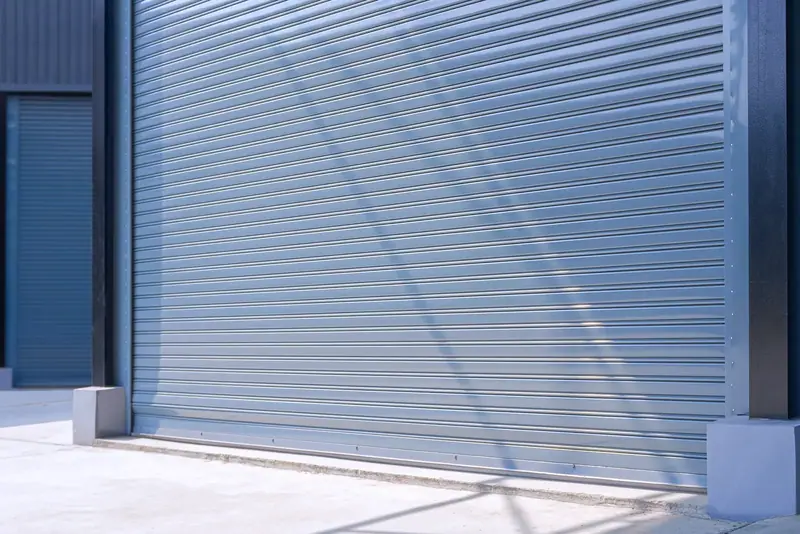
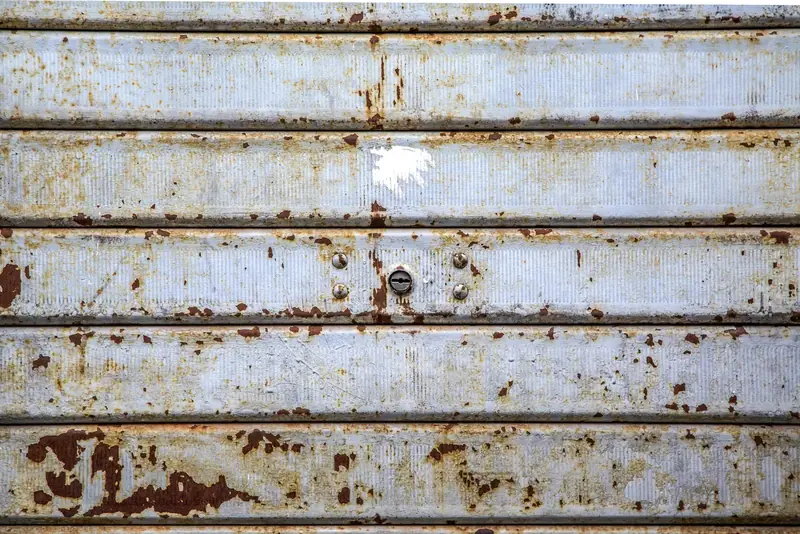
Sections flagged for corrosion compared with a door in sound condition
Project notes
The first image shows the sort of thing an inspection is meant to catch. Rust has formed along the horizontal seams and around the fasteners of these sections. From across the driveway the door might pass as merely weathered. Up close, the corrosion at the fixings is where hinges and struts lose their grip.
The comparison illustrates surfaces in sound condition: straight, clean and free of rust at the seams. An inspection does not produce that change by itself. What it does is identify the problem early, while it can still be treated, reinforced or scheduled for repair.
That is the real value. You find out about the corroded section, the frayed cable or the failing reversal on an ordinary afternoon with us, not on the day something gives way.
Illustrative example. These are licensed reference photographs chosen to show the kind of change this service makes. They are not photos of a specific Nashotah Garage Door customer's property.
What you receive afterward
When we finish, we go through the findings with you in ordinary language, sorted into three groups.
- Safety issues that need prompt attention. For example a frayed cable, a failed reversal, missing photo-eyes or a cracked spring.
- Wear that should be dealt with soon. Rollers near the end of their life, a hardened bottom seal, springs losing tension.
- Things in good order. So you know what does not need thinking about.
If you want any of it put right while we are there, we will price it first. If you would rather just have the information, that is fine too.
Common findings in older garages
Certain problems come up repeatedly in the housing stock around here.
- Extension springs with no safety cables through them.
- Openers from the 1980s with no photo-eyes and little or no contact reversal.
- Photo-eyes that have been taped together at the ceiling or bypassed with a jumper wire because they were a nuisance. This defeats the main protection against the door closing on someone.
- Wall buttons mounted low enough for a toddler to reach.
- Opener force turned up to maximum to overcome a door that is out of balance.
- Bottom brackets with ordinary bolts and no warning label.
- A manual slide lock that has been left in place alongside an opener, risking a torn top section.
- Track fastened into drywall anchors instead of framing.
Every one of these has a simple fix, and every one is worth fixing.
Safety and the Wisconsin winter
Cold weather creates its own safety issues, and we look for them specifically.
Force settings turned up for winter. When a door gets stiff in the cold, the tempting cure is to increase the opener's closing force. That makes the door move, and it also makes it less likely to reverse on contact. The right cure is lubrication and a balance check.
Snow and ice on the sensors. Photo-eyes sit close to the floor, where snow is thrown and ice forms. Blocked sensors stop the door closing, and frustrated owners sometimes bypass them. We make sure they are mounted solidly and explain how to keep them clear.
Frozen doors and manual release. If the opener fails in a storm, you need to be able to release the door and lift it. That only works if the springs are sound and the door is balanced.
Springs near the end of their life. Cold is when they break. An inspection in the fall identifies springs that are due.
Power outages. Ice storms take down lines. We check that you know how to operate the door manually, and can explain battery backup options.
A monthly check you can do yourself
Between professional inspections, a few minutes each month goes a long way.
- Watch the door through a full cycle and listen for anything new.
- Look at the springs, cables, rollers and pulleys for obvious wear. Look, do not touch.
- Lay a flat board on the floor and close the door on it. It should reverse on contact.
- Wave an object through the photo-eye beam while the door is closing. It should reverse at once.
- Check that the wall control is out of reach of children and that remotes are not being used as toys.
If the door fails the board test or the beam test, stop using the opener until it has been serviced.
Why a professional inspection is different
A homeowner can spot a frayed cable or a failed reversal test, and we encourage those checks. A professional adds the things that are difficult to judge without experience: whether a spring is correctly sized, whether the door is truly balanced, whether the opener's force is within a safe range, and whether that hairline mark on a hinge is a scratch or a crack. We also have the means to correct what we find, safely, on the same visit.
Frequently asked questions
Once a year is a sound routine. Add one after any impact, after buying a property, or whenever the door starts behaving differently.
Typically thirty to forty-five minutes for one door and opener.
Yes. Photo-eyes have been required on new residential openers for decades. An opener without them should be replaced. See opener replacement.
The opener's force and travel settings are adjusted and the door's balance is checked. If the opener still will not reverse reliably, it needs repair or replacement.
An inspection focuses on finding problems and testing safety functions. A tune-up includes the inspection and adds lubrication, tightening and adjustment.
Yes. We can look at the door and opener and give you a summary to take into your decision.